

Are you looking to create custom hats to sell? Whether you’re an aspiring entrepreneur, a fashion designer, or a maker looking for a creative outlet, creating and selling custom hats is an exciting venture. It’s fun, creative, and can be quite lucrative. Ready to get started? Here’s a step-by-step guide on how to make custom hats to sell.
Step 1: Choose Your Hat Style
The first step in creating custom hats is deciding which hat style you want to make. There are many different types of hats available, such as baseball caps, trucker hats, fitted ball caps, beanies, fedoras, and more. Consider the type of hat that best suits your design aesthetic and who your target customer will be. For example, if you’re designing for young adults, then a trendy bucket hat might be the way to go. Once you’ve chosen a style, it’s time for the next step—designing your hat!
Step 2: Design Your Hat
Designing your hat is perhaps the most important part of this process. This is where your creativity can shine! Consider the colours and patterns that will best represent your brand. Decide where the location of the printed or embroidered logos or other designs will go on the hat. Do you want multiple designs in multiple locations? You can embroider on the front, back, and the sides of hat. Be cautious of how many embroidery locations you choose because each location increases the cost of the hat. Your next step is to find a distributor/decorator.
Step 3: Find a Distributor and Decorate Your Hat
Once you’ve designed your hat exactly how you want it, it’s time to find a distributor and decorator who can help turn your vision into reality. A few things to consider when searching for distributors include turnaround times (how long they take from start to finish). Also look into their pricing; most distributors/decorators offer discounts based on quantity ordered so this could save you money in the long run!
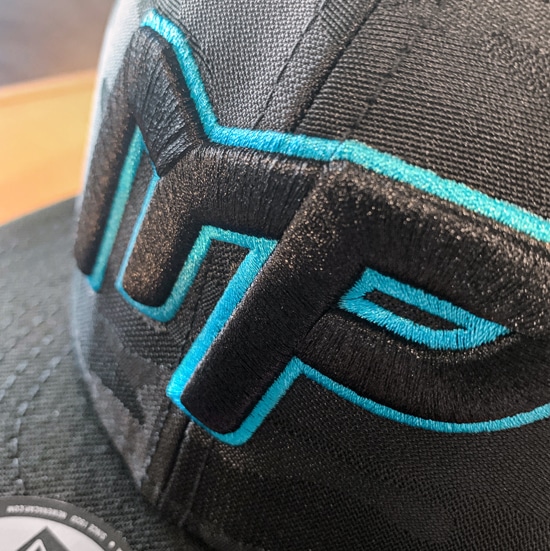
Step 4: Get an Embroidery Stitch File
After you have designed your hat and chosen a distributor, it is time to get an embroidery stitch file. This is the computerized information that tells the embroidery machine how to sew the design onto your hats. Most decorators will be able to provide you with an affordable stitch file. I do not recommend trying to create a stitch file yourself; quality stitch files are highly complex, and companies that specialize in them are very affordable with a quick turnaround time.
Step 5: Decorate Your Hat
This is where things really begin to come together! The decoration process involves adding logos or any other designs that were included in the original design concept onto each individual hat with embroidery machines or heat transfer presses.
Step 6: Build a Website and Sell Your Hat
Finally—it’s time to build a website where customers can buy directly from you! This should include product photos that clearly show what each individual hat looks like; any additional product descriptions; shipping information; payment options; etcetera. Once everything’s set up correctly and ready for customers’ eyes only then all there’s left for you do is keep track of orders and send out packages once orders come in!
Making custom hats isn’t easy but it can definitely be worth it! With these six steps as your guide—choosing your style, designing your hat, finding a distributor, getting a stitch file, decorating it , and building an e-commerce website —you’ll soon have plenty of unique customized hats ready for sale! With dedication and hard work anyone can become successful when making custom hats -just remember that practice makes perfect! Best of luck with creating unique pieces of headwear that will wow customers all over the world. Happy crafting!